Mini-Me RØDE Blimp!
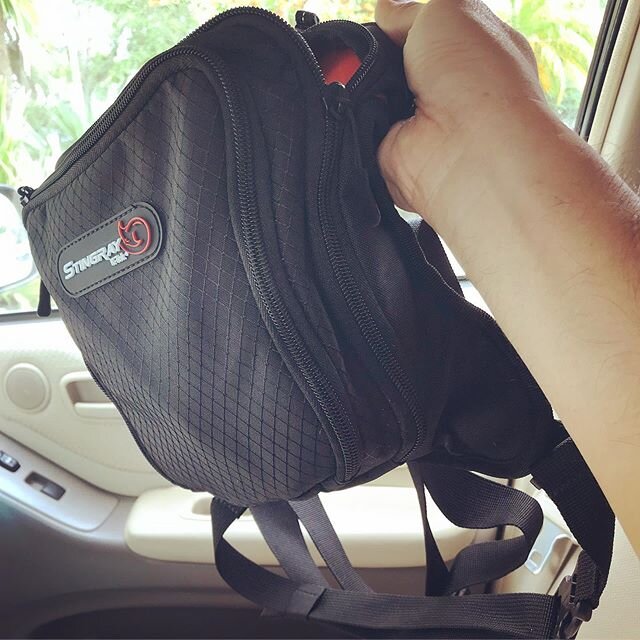
/I've been wanting to have at least one Really small blimp so that I can carry one of my Sound Devices field recorder, a stereo mic in a blimp, my Macbook Air, a camera, and a bunch of accessories in ONE BACKPACK. So after researching about it and chatting with a few who have done so, I finally had the nerve to hack into one! I have many many blimps for my massive gun recording sessions so it was worth it even if I killed off one or two during the attempt. It was A Lot of Work to make one, but I thought I would share some details.
***Warning! Do Not blame me if you mess up your own blimp. This was a personal project and I Will Not accept any responsibilities for any mistakes!***
01 - First thing was to figure out the size that I wanted. After doing so, we cut into the two aluminum pieces.
02 - We used a drill (with the right size bit) and made new holes into the aluminum pieces.
03 - After inserting the new "shorter" aluminum pieces back into the blimp, we taped up both ends to the blimp to guide the very sharp scissors for the cutting. We found it easier to follow and cut the light grey plastic of the blimp.
04 - A Heat Gun is the key to loosen the glue that connects the two end cylinder rings to the blimp. It got Really Hot so we had to be extra careful!
05 - With the Heat Gun we applied high temperature to the inside of the blimp (where it attaches to the end cylinder rings). This only took a few seconds to loosen the glued on end cylinder rings.
06 - Tearing off the loosen end cylinder rings.
07 - After tearing off the end cylinder rings, we used a thin blade to cut away old glue. We also had to cut away at the blimp ends to make these end cylinder rings fit. This was done to make sure that everything can easily fit. The slowness and precision cutting was the most difficult part of this whole process.
08 - If we had used Crazy Glue, a mistake could have been really bad. Gorilla Glue takes about one to two hours to dry allowing us to slowly and carefully move the pieces around until they're in the ideal places.
09 - Once everything was in place, we wiped away any excessive and messy glue then taped up the blimp.
10 - Once 2 hours had passed, we used a thin blade to cut away any of excessive glue.
11 - I had a seamstress alter the dead wombat (fur) to tightly fit with my new Mini-Me Rode Blimp. Tada! :-)
Special thanks to Aaron Diaz, owner of Barnichol hardware store in Boca Grande, Florida, USA.
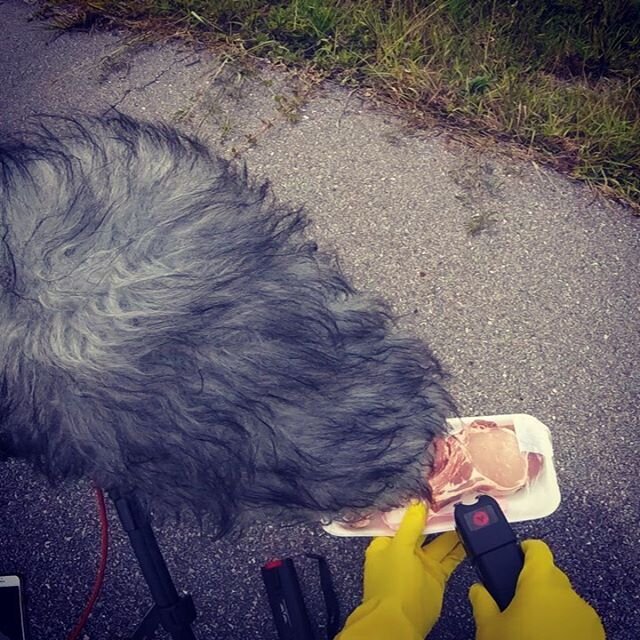
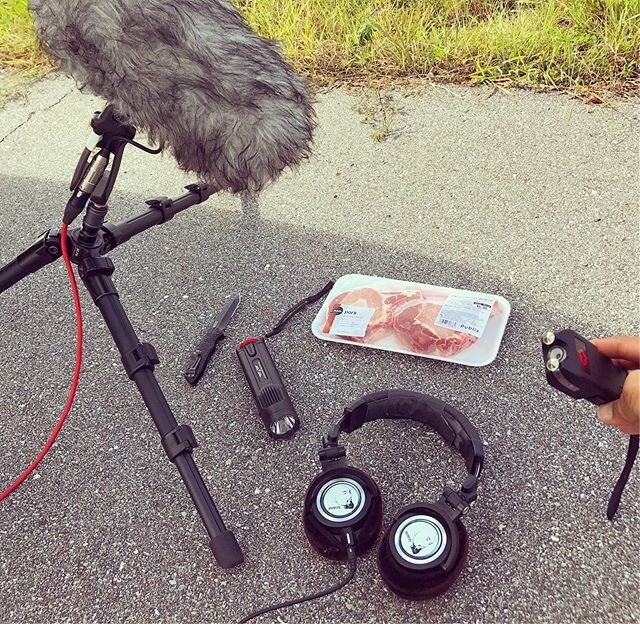
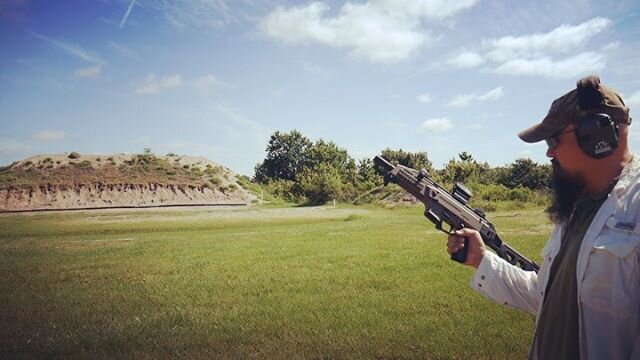
Mini-Me in action!

CLICK HERE TO SEE MORE DETAILS PICTURES OF THE MINI-ME RODE BLIMP.